I am having success in manageing the SALTT project itself using the SALTT package – some examples will be drawn from there in the demo file ProjectDemo.xml
SALTT is intended to be highly visual, drawing your attention to those actionable items that will generate the most value and disregarding those items that are distracting and produce low value. It is meant to be about as complex as a simple graphics editor or presentation slide package, and works in many similar ways. As an MVP intended for evaluation, the features have been stripped down to a minimum set (note that some legacy features might have been retained.)
On the inspector panel under the salt tab – click
New
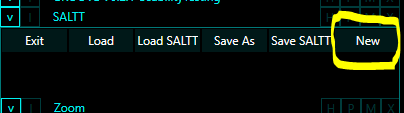
this opens a blank canvas
move the mouse over the canvas pane and click the right mouse button (RMB) and chose the menu item:
Add Node

the cursor changes to a pen; left clicking on the canvas will add basic nodes.

move the mouse over the canvas pane and click the right mouse button and chose:
Cancel
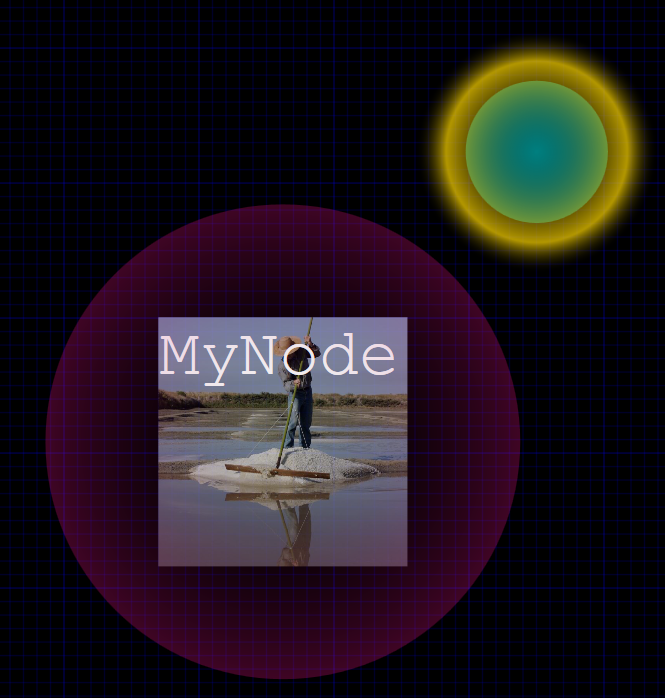
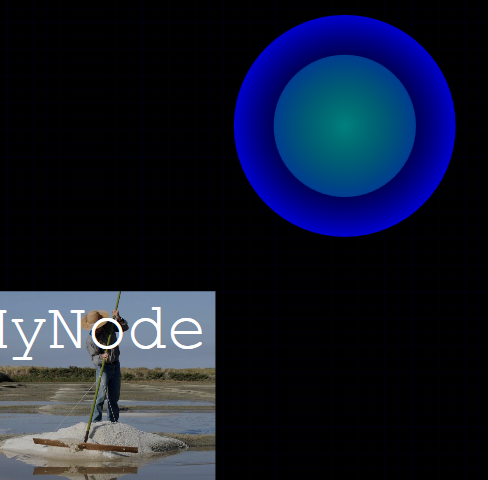
the cursor changes back to a selection arrow. Note that one of the nodes will have a golden halo glowing over it (this indicates that it is the root node of a tree and will be discussed seperatly.)
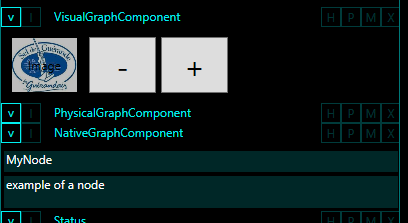
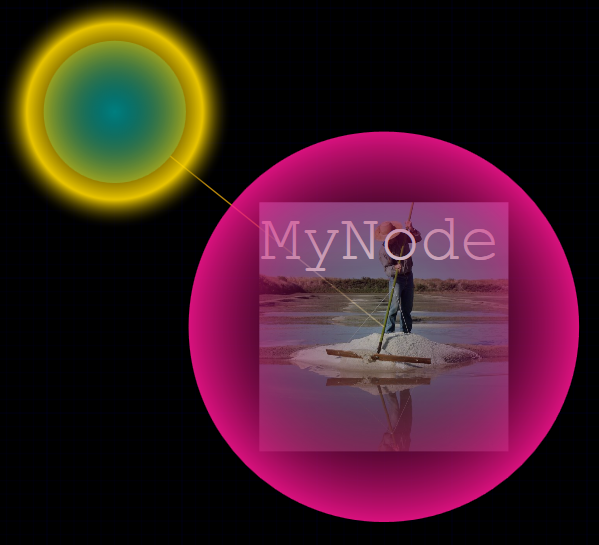
click on a node to select it, a pink halo will glow over the selected node and its properties will appear in the inspector panel
click the image button; the dialog to the TopicIcons will open (if not you can find it …). You can add more images to this folder as you would normally in windows.
Select a topic image icon and click close. The Node will change image. Do this for the other nodes. Meaningful labels can be added to the node in the text box benieth the native node component inspector item.
Select any node and use the +/- buttons to resize it.
Right click on any node and chose
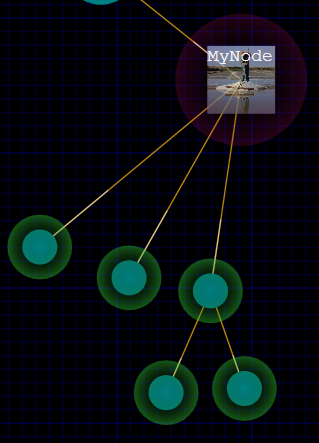
Add Edges

A blue halo will glow over the selected node to show that is the “From” node of edges to be added; the cursor will change to a pen.
Click on any other node and an edge will be added. Click on the background canvas and a node will be added along with an edge. RMB/Cancel returns to select mode.
nodes can be moved around the canvas by dragging them.
graph components (nodes or edges) can be deleted by selecting them and hitting delete.
A tree (a node and all its sub-nodes) can be selected by chosing the Select SubTree menu item on a node. Pink and lime halos indicate selected items. All the nodes in that sub-tree can be moved or resized.
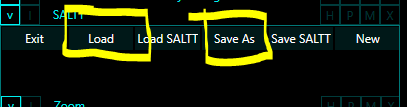
Save and Load work as you would expect (Save SALTT and Load SALTT work directly with the MySALTT.xml file).